ZOIDS
In those joyous days of the 1980's once more the Japanese gave us a pop culture phenomenon - Zoids.
Manned robot war machines in the shape of animals - from dinosaurs to tigers, gorillas to elephants.
Relaunched by the Americans in the 2000s with two new animated series, interest grew in this old franchise and Hasbro rereleased the old toys.
In 2010, Kotobukiya brought out the HMM series of super-detailed kits.
These are what i will be concentrating on in this section.
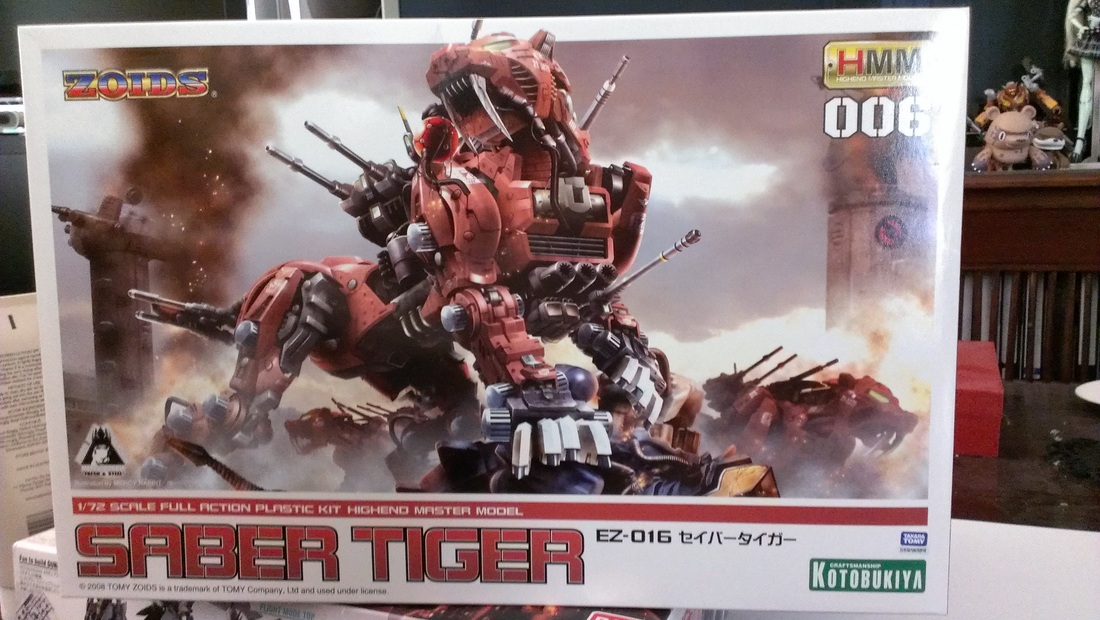
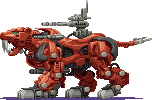
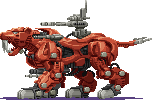
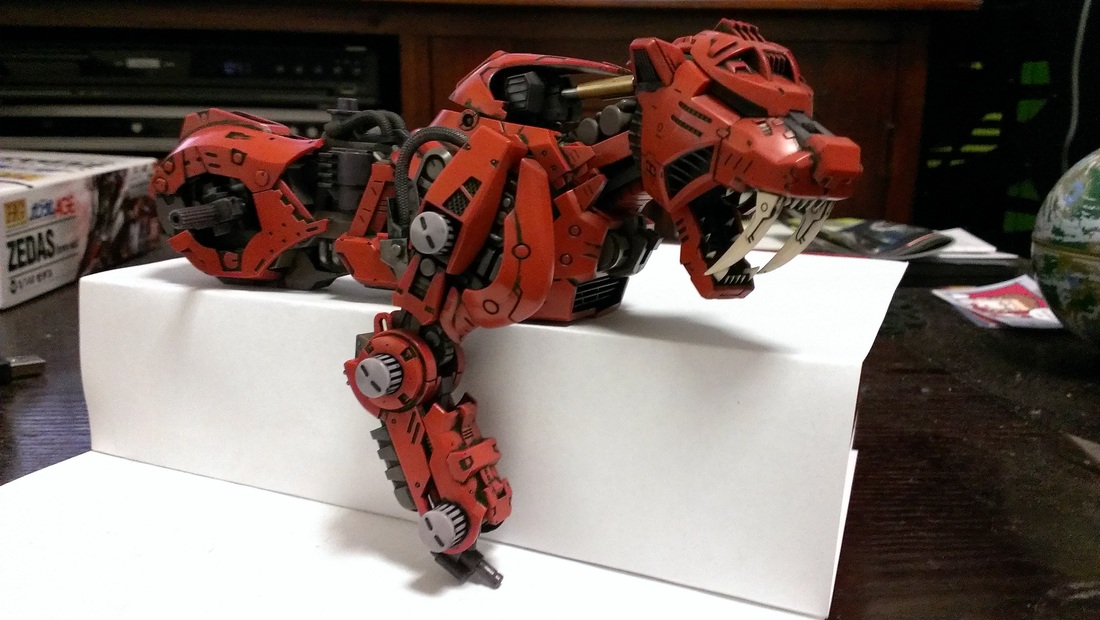
Saber Tiger EZ-016 [HMM006]


Day who knows when: returning to zoids
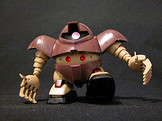
So I'm sitting here watching an MSM-03 Gogg being put together and it struck me - I miss working on that overly complicated beast that is the Saber Tiger. On the 'morrow, you will be mine again!!
In essence it's repetition on the Saber Tiger, as now it's legs Part 2 - the mirror of the others, but it has made me wonder about super detailing the kit though - maybe some metal chips? I'd love to do a crew!
June 2013
In essence it's repetition on the Saber Tiger, as now it's legs Part 2 - the mirror of the others, but it has made me wonder about super detailing the kit though - maybe some metal chips? I'd love to do a crew!
June 2013
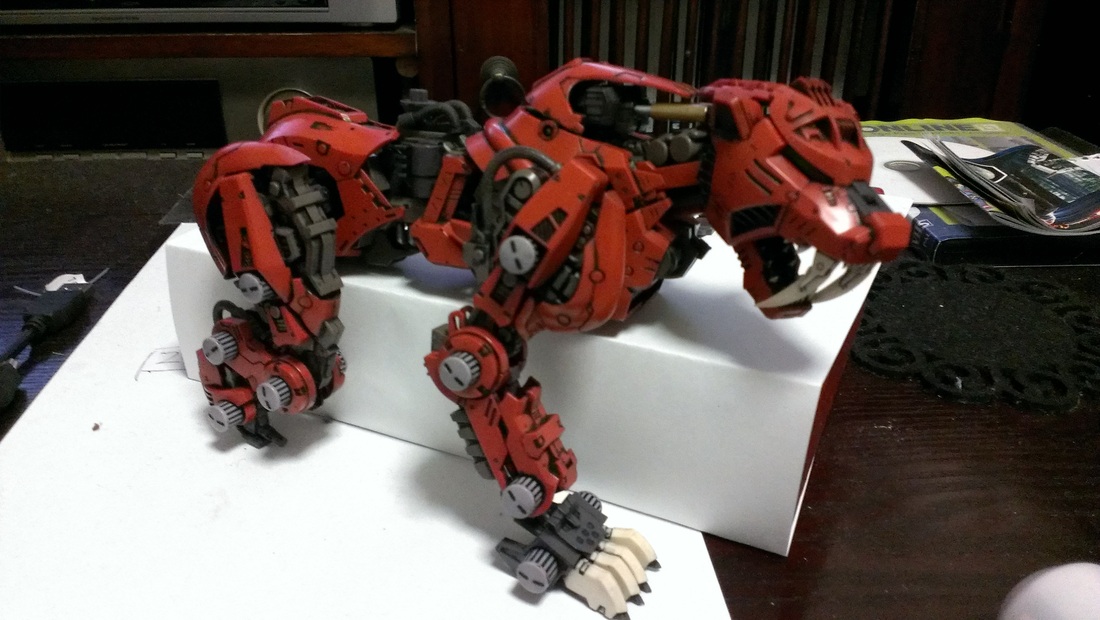
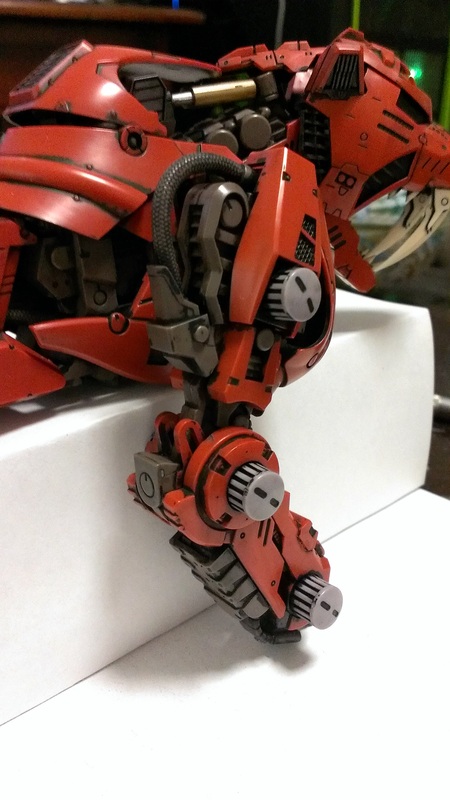
Day Five: The hind legs and tail... nope - nothing smart to say!
So this leg wasn't any easier than the other, but now I see half the legs done, I'm invigorated to finish it.
The hind leg is much more details, with an extra point of articulation, but when done looks great!!
The only thing I will say, is painting inside the armour plates (any red armoured piece really) is definitely important for this step.
Doing it after is a pain...
The tail is easy enough, very straight forward and actually makes the back look almost done.
What can I say, I like a good tail section!!

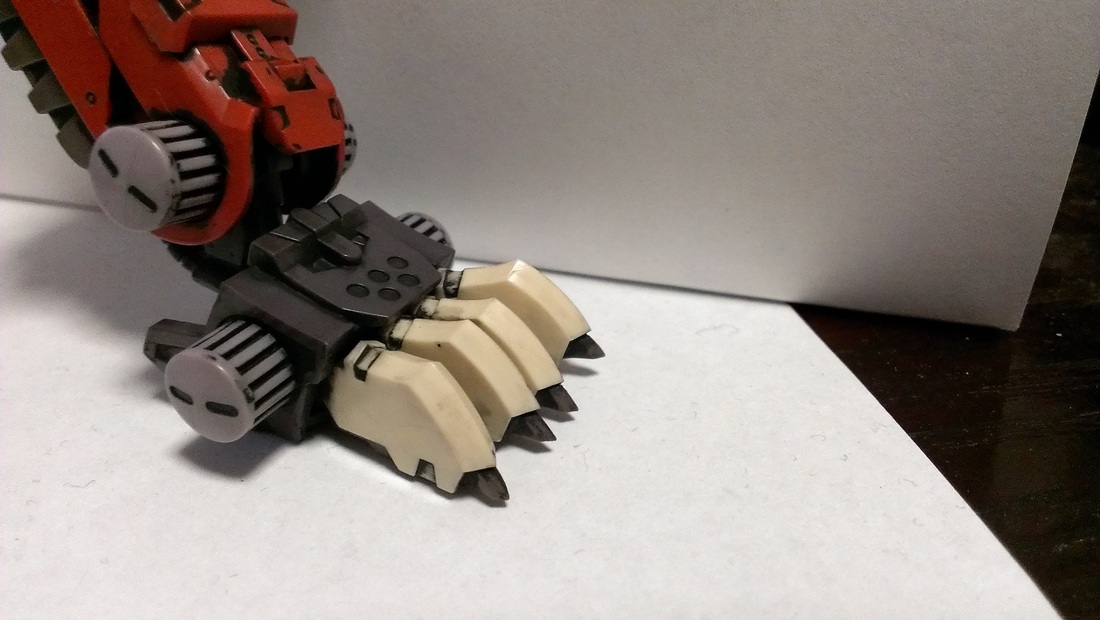
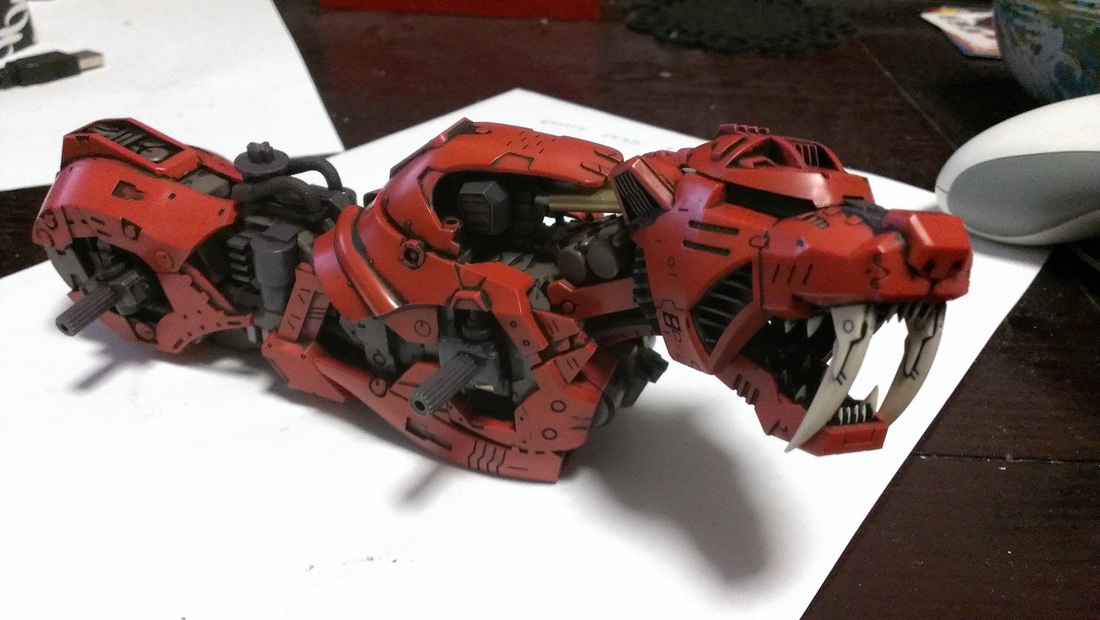
Day Four: The Craws... no no, CRAWS!!
If I can impart one piece of wisdom from this entire kit: paint the claws before assembly.
I know it seems simple and straight forward, but the clean up if you don't takes ages!!
No one wants to spend 1/2 an hour or more cleaning up just the claws - there are other things to do.
The instructions too are a little garbled in this area, but once worked out, very straight forward!
Oh.. and BTW, I've just started on the back legs.

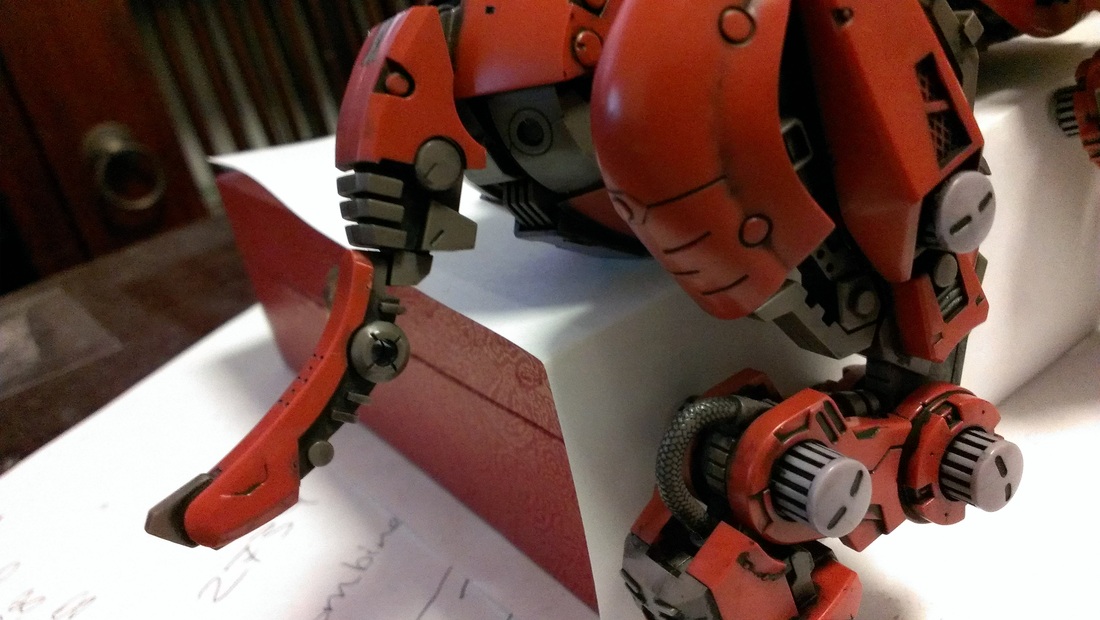
Day Four: The scary complicated legs - it was going so well!
Do not let this deter you, padwan!
Yes the legs are complex - in fact I would say the least well illustrated in the manual frankly - but that is for a purpose.
The first leg I did as an experiment; could I just assemble it without doing any painting till after it was all together?
The answer is... "sort of".
Mostly yes, it can be constructed sans-paint, as most of the outer armour covers the bits that really need painting.
As for the construction it is fiddly and not all that clear what does what until you finish the assembly... and then it's highly articulate!
I did notice, however, that although they are articulate, once on the body, the hardpoints they attach to are quite stiff and immoveable.
That could be bad construction by me, but I felt like i was going to break it at any minute!
Having now built one, I'm not especially looking forward to the other three, but there you go!!.
The result is spectacular mind you, so onward and upward!!
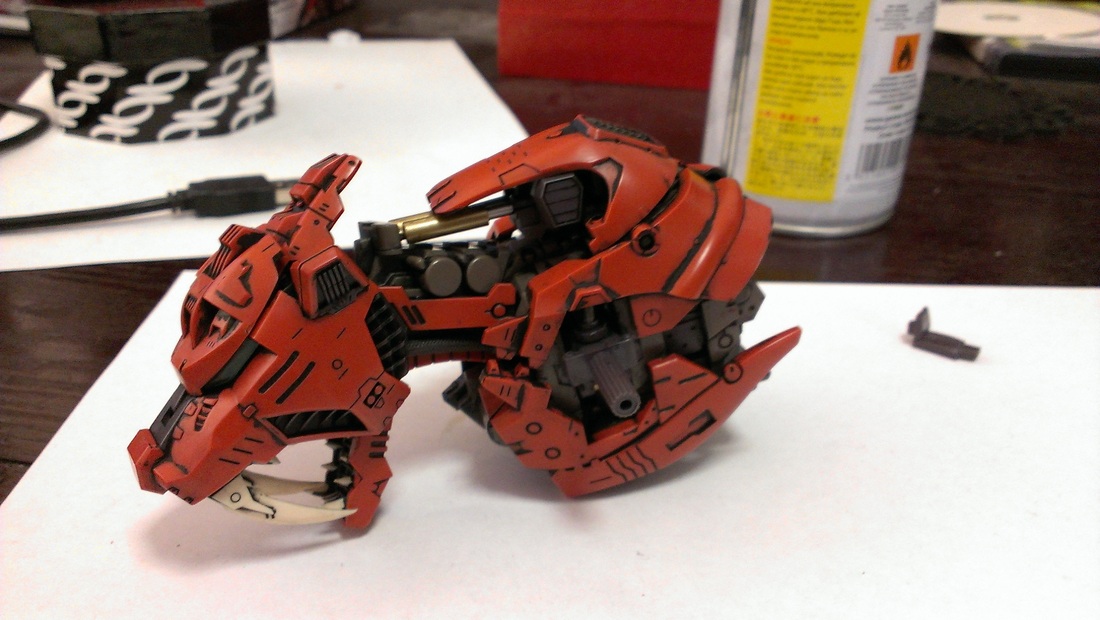
Day Three: "... and I'll form the arse!"
Add that to the list of things never said in Voltron!
Ok - so the rather tedious arse section.
To be honest I got no joy out of this part at all.
It was fiddly and most of the paint work was covered up by the armoured plates which were pretty boring too.
The way the three torse pieces fit together is quite tight and not overly satisfying,
Anyway, that section is done and I know have a Saber Worm.
I'm going to skip the weapons and leave them till the very end - so it's on to the legs - which look very very fiddly.

~ Side note: To decal or not to decal...? ~
I'm really of two minds.
The declas look nice, but maybe just the plain look is better.
I am now, however, considering a white stripe down the middle of his head... this would be a pain, but it keeps calling out to me as being missing for some reason!
The declas look nice, but maybe just the plain look is better.
I am now, however, considering a white stripe down the middle of his head... this would be a pain, but it keeps calling out to me as being missing for some reason!
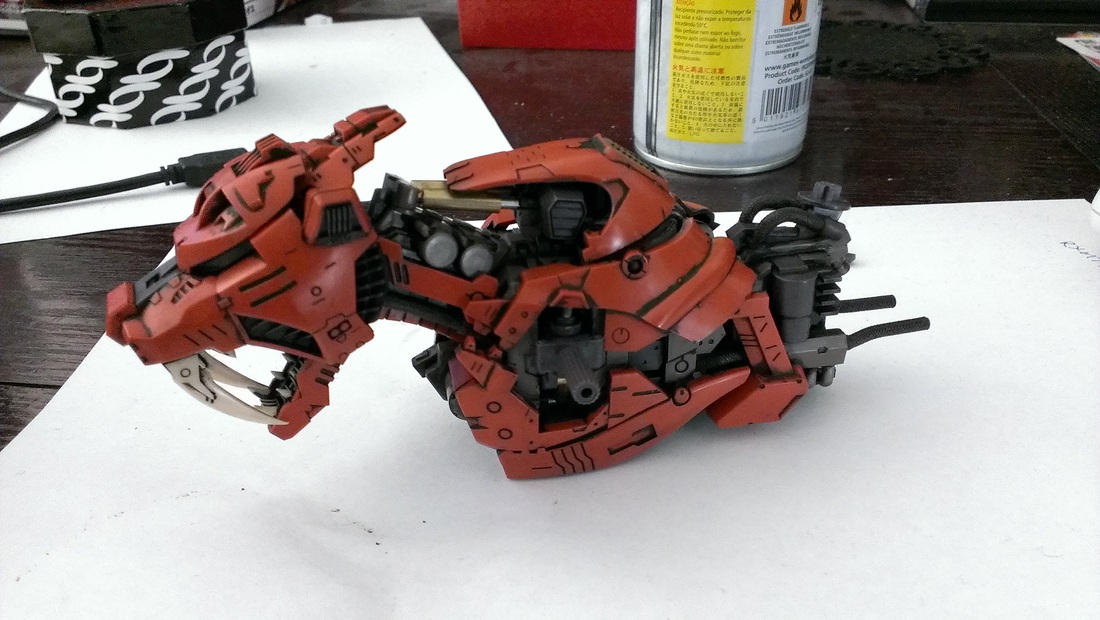
Day Two: Still painting and much assembling
So these kits are detailed!
By detailed I mean a shit-tonne of parts all over the house and lots to do.
I mean that's all good - don't get me wrong - but the assemblies can be a little odd and slightly fractured.
They are broken up by a menu down the side of each page telling you what you have just made.
This helps, but there is no respite, no "Chapter 3 - lets make the head".
Nope, it just keeps going and going.
The results, however are pretty amazing.
I had some issues with parts fitting together like the picture, but that's ok.
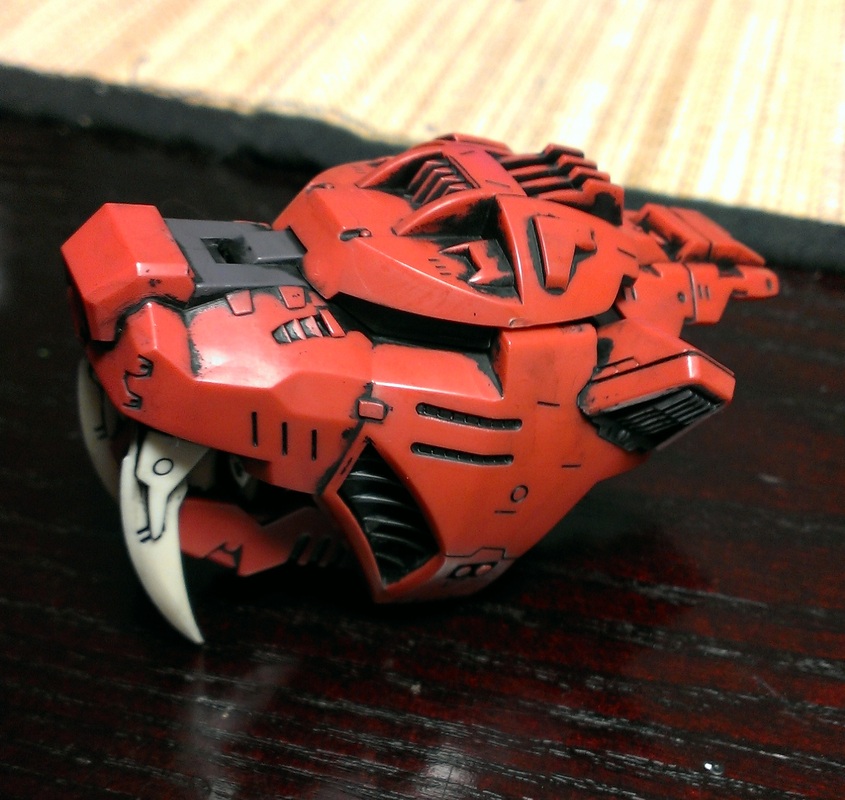
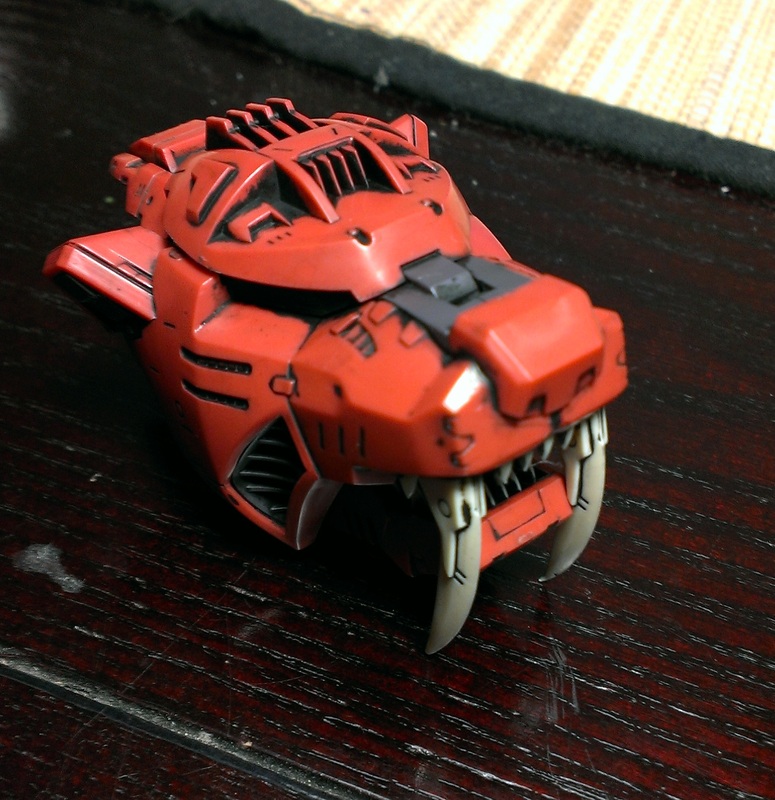
See below today's 4 hours of work; the bust and the hips.
The fist pictures chow just the bust and head assembly, the later ones show the hip assembly too.
The messy paint process stayind the same, but I left more paint on the "engine" parts, assuming they would be dirtier than the outer shell.
By detailed I mean a shit-tonne of parts all over the house and lots to do.
I mean that's all good - don't get me wrong - but the assemblies can be a little odd and slightly fractured.
They are broken up by a menu down the side of each page telling you what you have just made.
This helps, but there is no respite, no "Chapter 3 - lets make the head".
Nope, it just keeps going and going.
The results, however are pretty amazing.
I had some issues with parts fitting together like the picture, but that's ok.
See below today's 4 hours of work; the bust and the hips.
The fist pictures chow just the bust and head assembly, the later ones show the hip assembly too.
The messy paint process stayind the same, but I left more paint on the "engine" parts, assuming they would be dirtier than the outer shell.


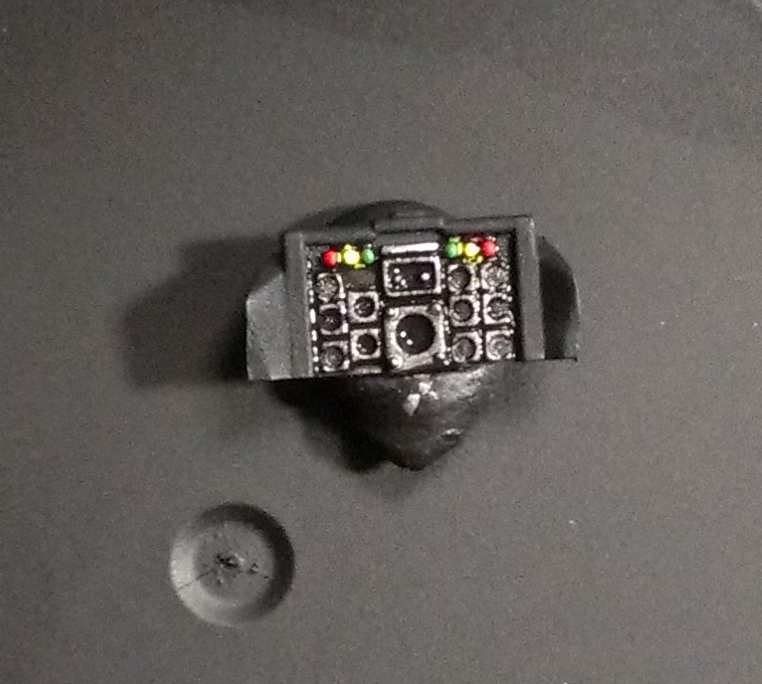
Day One: Time to paint...
Ok - so i use this technique which is pretty messy, but it makes the mech look dirty and a bit worn.
Basically I wash all the parts for about half and hour in warm very soapy water.
Then I rinse all the pieces and let them dry in the sun (if possible).
Then I apply a wash (in this case quite a heavy wash) of a dark colour. I used black this time.
Then once dry, i get cotton buds and remove the paint with methylated spirits.
It is very messy, but as you can see by removing the dark colour, you are left with the recessed lines very pronounced and also some parts where it looks like heavy dirt or wear is in the crevasses - a bit like an old truck or a tank.
This is similar to the technique used by the Gundam painters, except they are better at it!
Ok - so here is the head and the cockpit console detail
Let's open the box!!